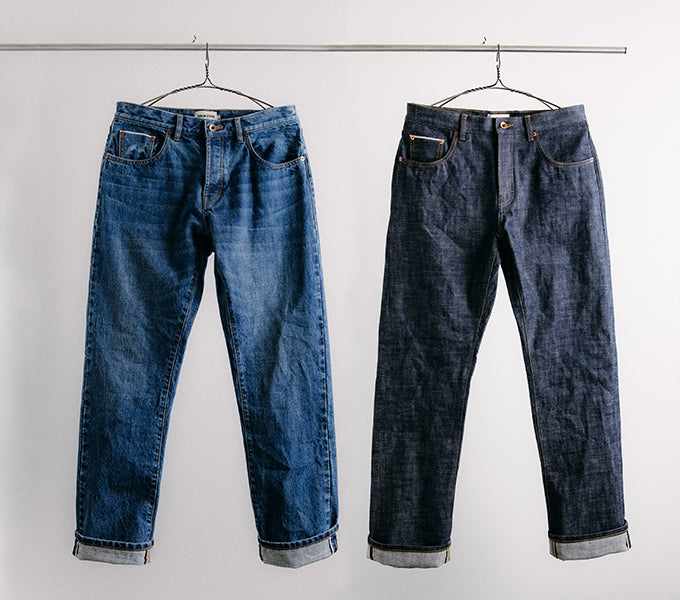
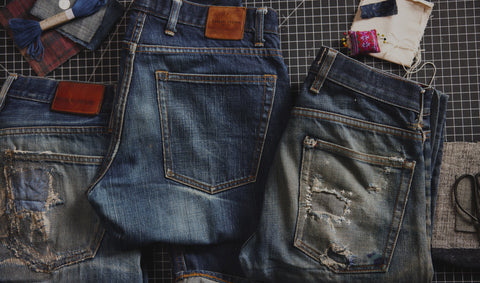
Out of all the garments in our wardrobes, nothing gets as much use and abuse as our selvedge denim. Given denim’s long lasting durability, we tend to form a sentimental connection with our favorite pair of jeans. They’re like an old battle buddy, by our side through good times and bad, so when they inevitably develop a hole or two, we’re loath to just cast them aside.
That’s where some DIY visible mending comes in. With the sashiko mending patch method, you can give your trusty jeans a new lease on life, reduce waste, and end up with a pair that’s even cooler than before. What’s a battle buddy without a few scars, anyway?
Fun Fact: The Japanese (who invented sashiko mending) refer to the beauty of a well-worn object as wabi-sabi.
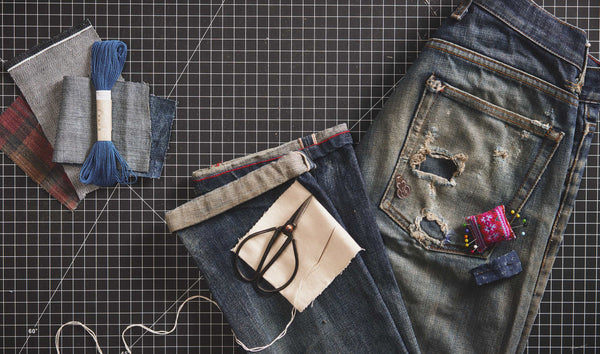
What do I need?
- The pair of jeans you intend to mend
- Sashiko embroidery thread
- A sashiko needle (or long embroidery needle)
- Pins.
- A patch (preferably denim or heavyweight cotton twill)
- Fabric scissors
Note: A pin cushion and thimble will make life easier but aren’t necessary.
If you’re looking for a place to get everything you need in one fell swoop, check out our Sashiko Denim Repair Kit. It includes recycled denim patches from our archives and all the tools you need to master the art.
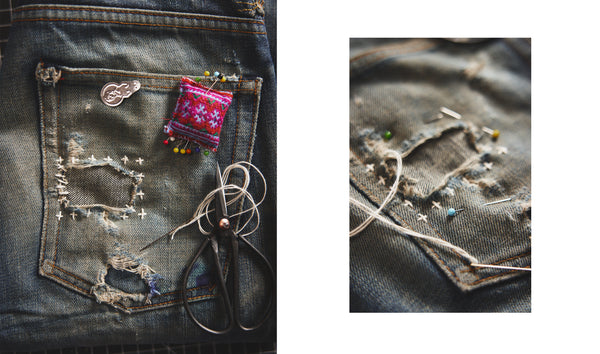
Patching your jeans, step by step
- For a cleaner finish, trim any frayed bits of fabric away from the hole. If you like the added character of a frayed repair, skip this step.
- Cut your patch to size. It should be at least ¼ inch larger than your hole on all sides.
- Turn your jeans inside out and pin your patch over the hole.
- Turn your jeans right side out and thread your needle to begin sewing.
- In traditional sashiko technique, rather than tying a knot in the thread, you load the needle by working it up and down through the fabric three times, pulling it through to create three stitches, and doubling over those stitches in the opposite direction to begin the sashiko pattern. This will ultimately result in a cleaner finish, but if you would rather tie an anchor knot in your thread and skip this doubling over step, it’s more than acceptable (especially since the knot will be on the inside of the jeans and not visible to others). The choice is yours. For a simple “rain drop” sashiko pattern (horizontal or vertical lines of stitches), create rows of stitches by loading your needle and pulling it through to achieve straight, even stitches. Be sure to pass your needle under the fabric when starting the next row of stitches so that only the parallel lines of stitches are visible on the outside.
- For a simple “rain drop” sashiko pattern (horizontal or vertical lines of stitches), create rows of stitches by loading your needle and pulling it through to achieve straight, even stitches. Be sure to pass your needle under the fabric when starting the next row of stitches so that only the parallel lines of stitches are visible on the outside.
- When you’ve covered your patched area, tie off your thread on the inside of the jeans, remove your pins, and trim any excess thread.
- If you want to create that cool “plus sign” stitch pattern, repeat steps five and six in the opposite direction, lining up your stitches so that they cross over each other. Note: “rain drop” and “plus sign” are simple nomenclature devised by us for clarity’s sake. Generally, both these styles fall under the “Boro” style of sashiko. More specifically, “Tate-jima” and “Yoko-jima”.
Raise one arm over your head, bend it at the elbow, and pat yourself on the back. You just took a pair of selvedge jeans that were ready for the landfill and turned them into a one-of-a-kind piece of wabi-sabi badassery. Bravo.
Need help figuring how to care for your favorite pair of jeans? Check out our guide on how to wash selvedge denim.


